How-To: Installing a Subfloor

Roscoe helping...
PREP
Things we used
Materials
- 1/2" RMax R-Matt Plus 3 Rigid Foam Insulation
- Loctite PL 300 Foamboard Adhesive
- 4x 1/2" 5 Ply Sanded Fir Plywood
- Painter's masking tape
- Great Stuff Pro Gaps & Cracks 24 oz Insulating Foam Sealant
- Silicone
- Simple Green Cleaner
- 3M Marine Adhesive
- ESP Low-E® EZ-Cool Car Insulation Kit + Foil Tape
Tools
- Weights/heavy objects (for pressing down on sealant)
- Scissors
- Utility knife
- Vacuum
- Random Orbital Sander
- 120 grit sand paper
- DEWALT DW331K 6.5 Amp Top Handle Jig-Saw
- Ear protection
- Eye protection
Before you begin
- Make sure that your van is ready to install the subfloor. If you want to drill holes in your floor, make sure you have a plan for doing this. We installed some carriage bolts for the undermount propane tank and the grey water tank that we plan on installing under the van.
- Make sure everything (the metal frame below) is clean and you have enough time and space to finish!
STEP ONE
Removing the original footprint
Before we began adding our subfloor, we needed to remove the original footprint, which is an option on the Transit.
We didn't really want or need it, but the version that was in stock came with it. If you're van came with something similar, you'll probably want to remove it too.
We want to use this footprint later as a waterproof, sealed layer later on in the subfloor installation, so Richmond is cleaning the footprint (below) before continuing on. The footprint had recycled denim insulation glued underneath, which we removed because of it could get moldy if exposed to water. We'll put it aside for use later.
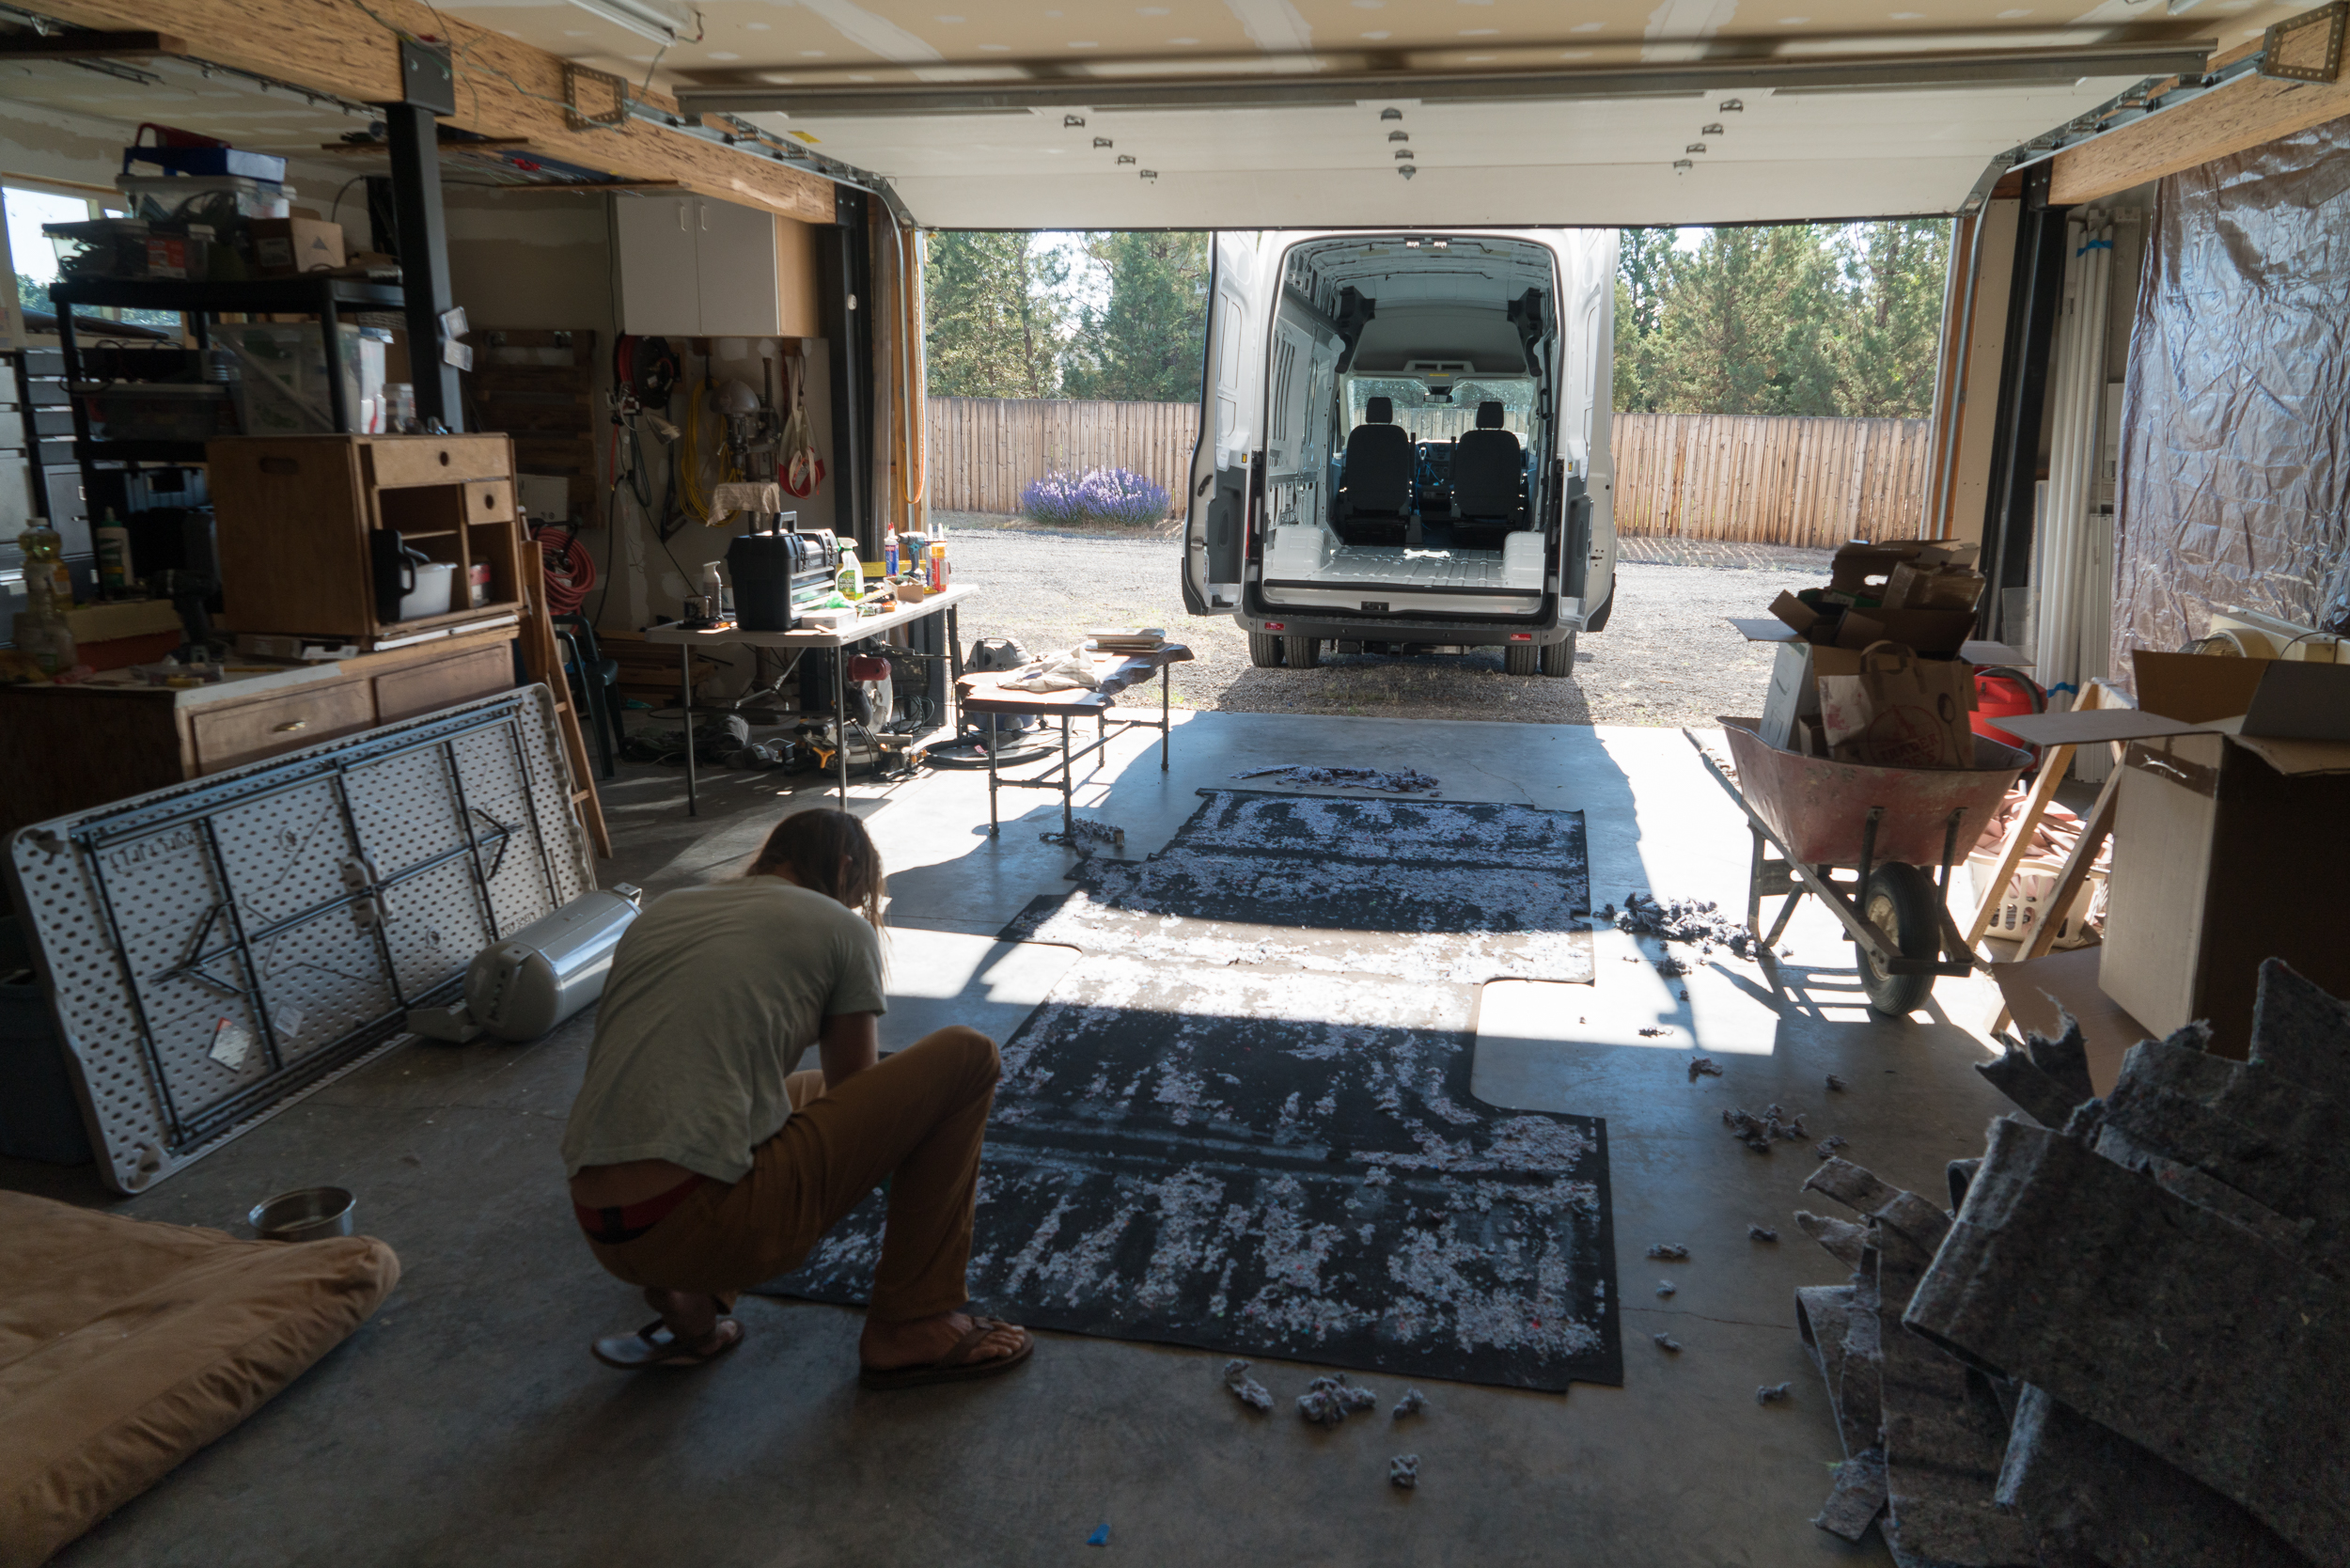
Removing the original mat and insulation that came with the van

Brailer supervising
Step TWO
Tracing the original footprint
We used four sanded 5-ply 4'x8' 1/2" plywood sheets for our subfloor. The plywood is thin, cutting down on our overall weight. The five plys make it stronger than typical 3-ply sheets at this thickness. Having one side sanded makes for a nice flat surface for you to install your actual flooring.
We put all four sheets down, using the 8' side as the width making sure that everything was flush. We placed the rubber mat on top of the plywood surface, made sure it wasn't going to move and then traced the footprint. If your van didn't come with this nice easy footprint, you can make this footprint with paper and tape it to your plywood. It's more work, but you'll end up with a better cut than trying to measure everything.

Tracing the original floor mat to create a flush subfloor
Step THREE
Making your cuts
Cut out the traced footprint shape using your jigsaw. You can either install it as a whole piece, or divide it into three pieces by cutting it in thirds, width-wise (as shown in lower right photo).

Making cuts

Testing it out in the van
STEP FOUR
Test out the fit of your subfloor pieces
Make sure they line up where you want them to. Pretty self explanatory.
Cut off any excess.

Three of the four pieces laid out on the bed of the van / Richmond examining the plywood overlap
Step FIVE
Make sure it's where you want it
For our subfloor, we want to make sure it's pretty flush with the plastic step at the sliding door. This is so that there's no strange overhang or difference in height. In the photo above, he realized once it was in that the plywood needed to be recut to ensure that it was flush.

All plywood pieces laid out

Where the subfloor meets the step after a second cut - just kissing!
STEP SIX
Clean your surface
Don't want to be gluing down on top of dirt, dust, and other things. It's just good practice to clean before you adhere anything with glue. Clean is good!

STEP SEVEN
Cut foamboard and apply adhesive
We cut our rigid foam insulation into pieces that it in between the ribs (see lower right picture). The thickness we used sticks up slightly above the ribs and we will add pieces of Low E EZ Cool in the spaces between the rigid foam. It's time consuming to cut all of these out. Most of these are mirrored, so you can cut one carefully on one side and then trace and cut the mirror image for the other side to save some time.
This will be the stuff keeping your insulation down under the subfloor.
After cutting out your foamboard pieces, apply the adhesive pictured to the foam board and put them in place.


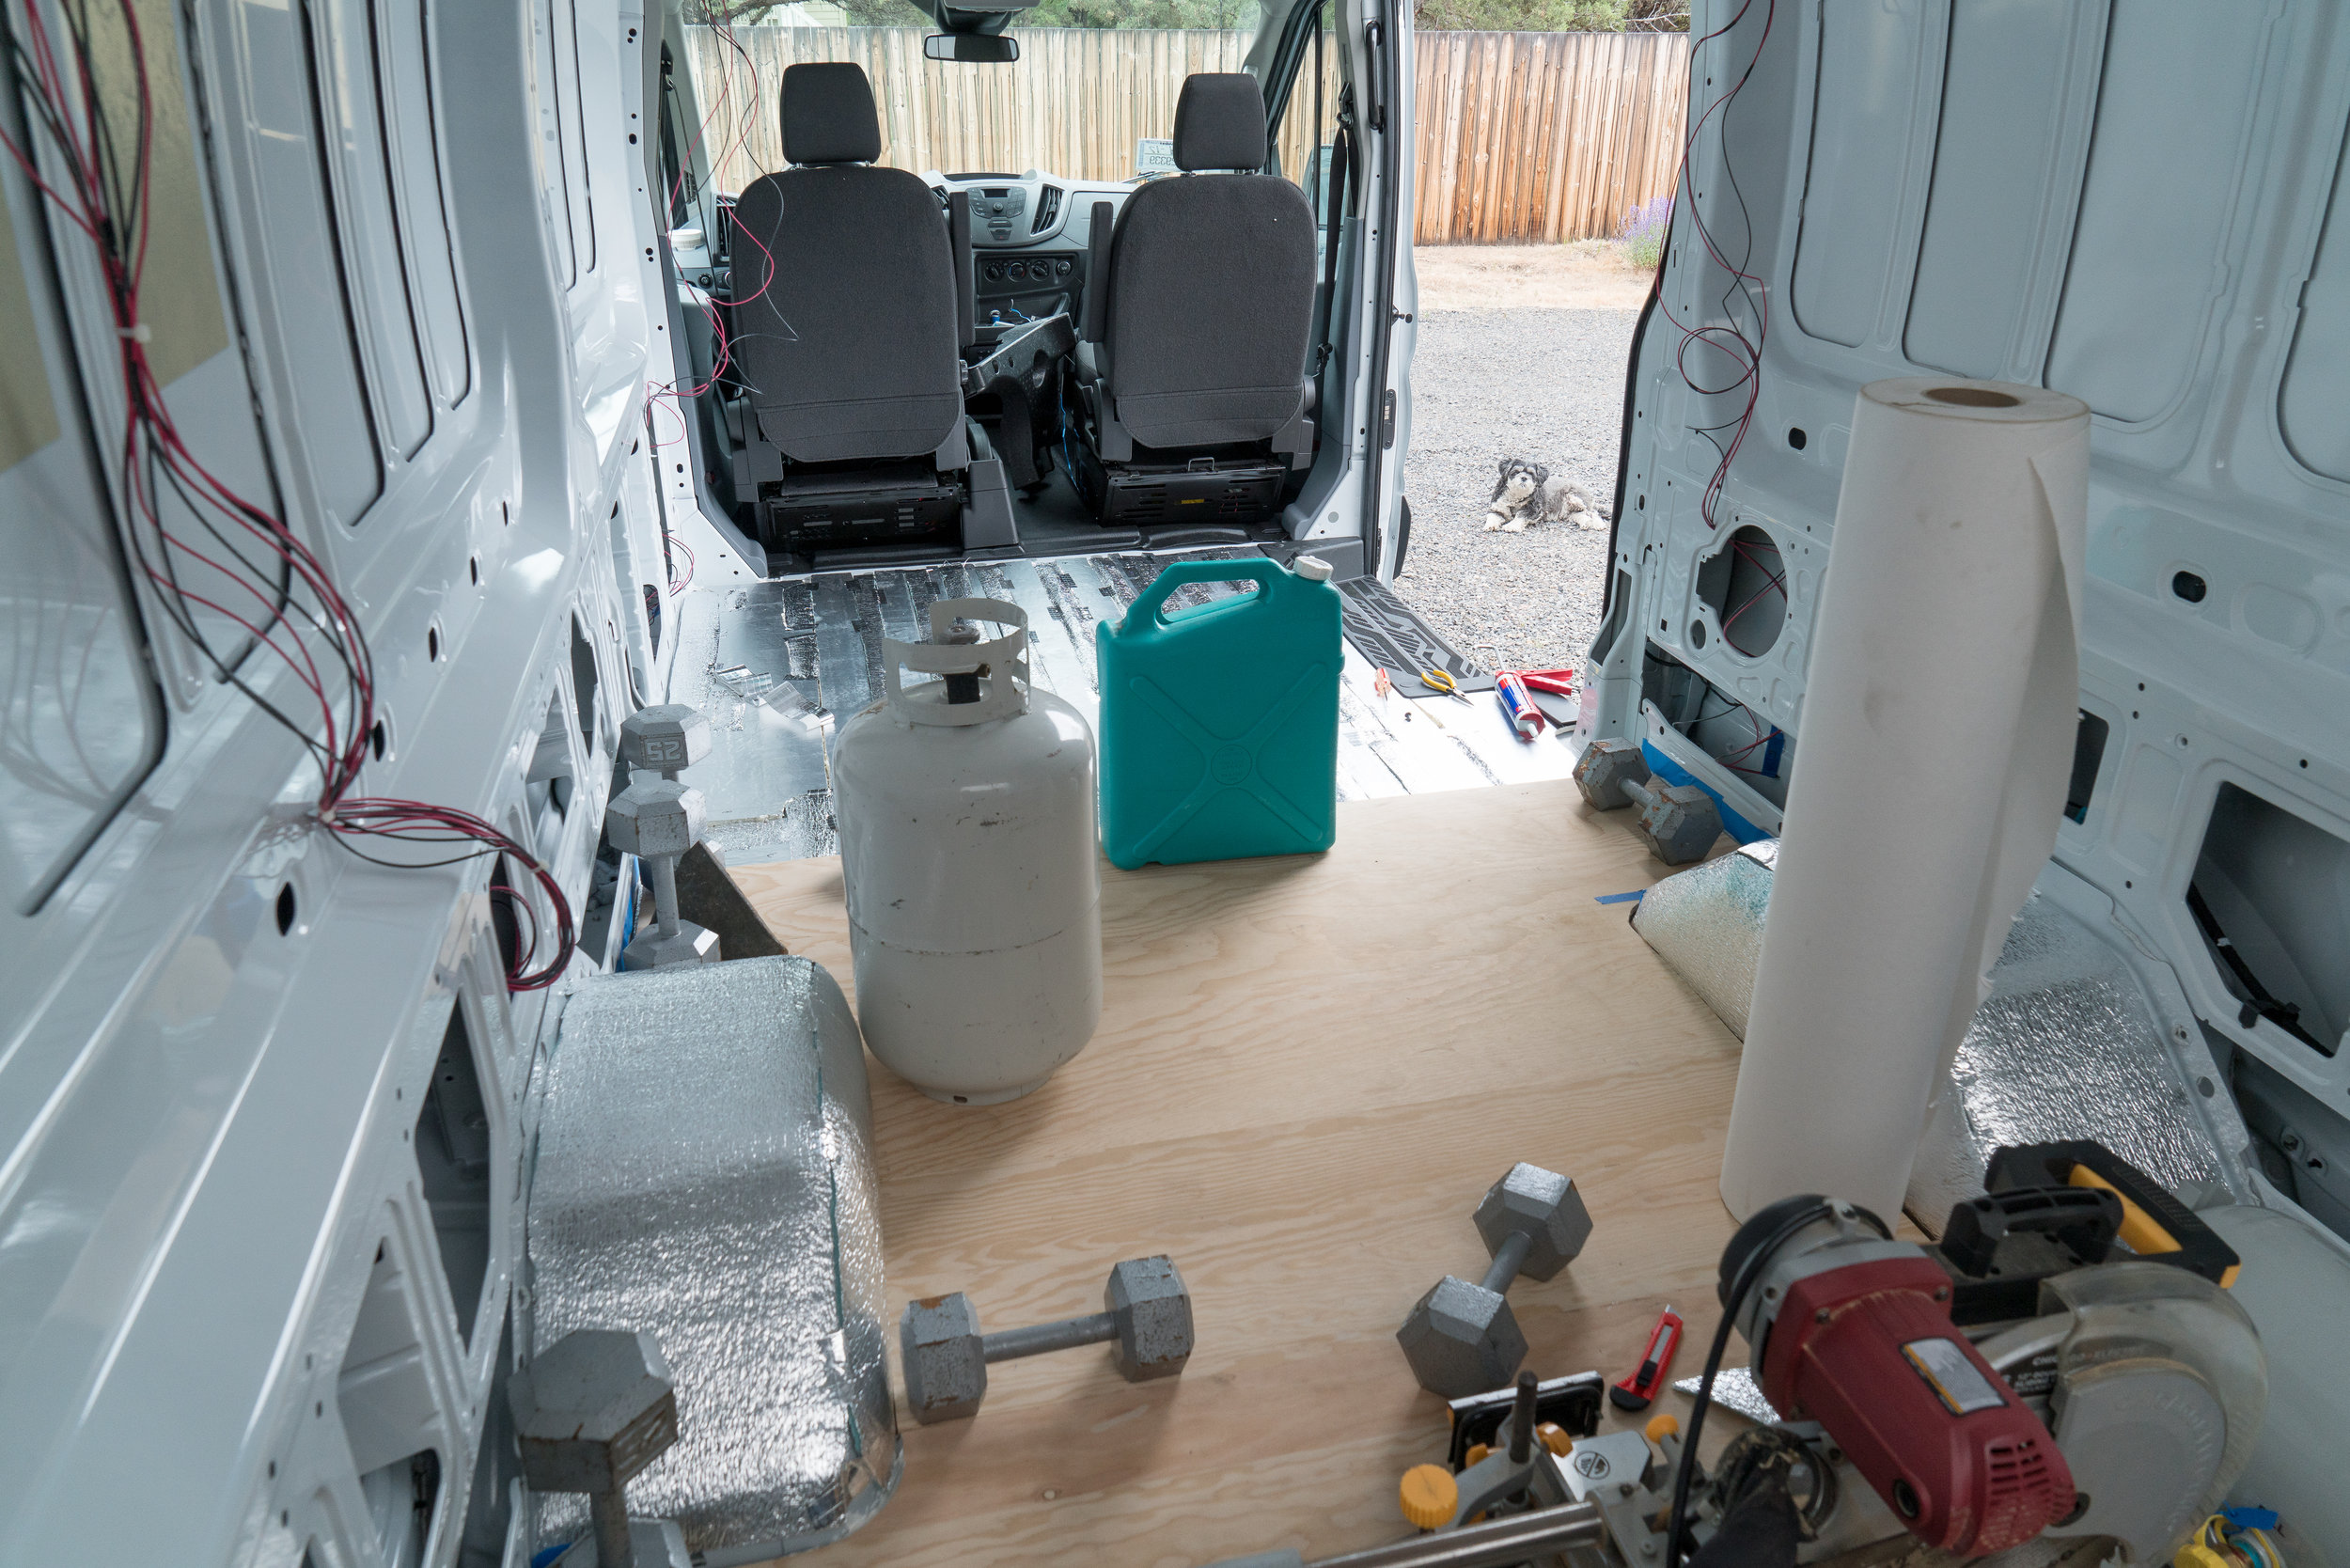
STEP EIGHT
Add weight to secure foam board pieces
Cut your pieces to trace around the "rib" areas on the floor base. After applying the adhesive, press the foamboard on top of that and add weight on top to secure it. Wait at least 24 hours for the foamboard adhesive to dry before continuing.
Plenty of photos of various weights added!


STEP NINE
Fill in gaps with Low E EZ Cool
Cut out tubular shapes of Low E EZ Cool to fill in the gaps in your foamboard.
You'll kind of just have to eyeball it and adjust pieces until they fit. They don't have to fit perfectly, but shouldn't be too small or too big. If they're slightly too big/small, that's okay. You just don't want lumps created by larger pieces or a lack of insulation where small pieces expose the metal.


STEP TEN
Add tape to hold Low E EZ Cool down
This is what you should end up with (something like it). Notice on the right it isn't filled in yet (it should be, so ignore that). Notice how some pieces are slightly too small. That's fine! They should match pretty well though.
After you insert these tubular shapes in the gaps, add the tape that comes with the EZ cool (or any reflective aluminum tape) to ensure it's secured. Just makes sure it stays down and what not.
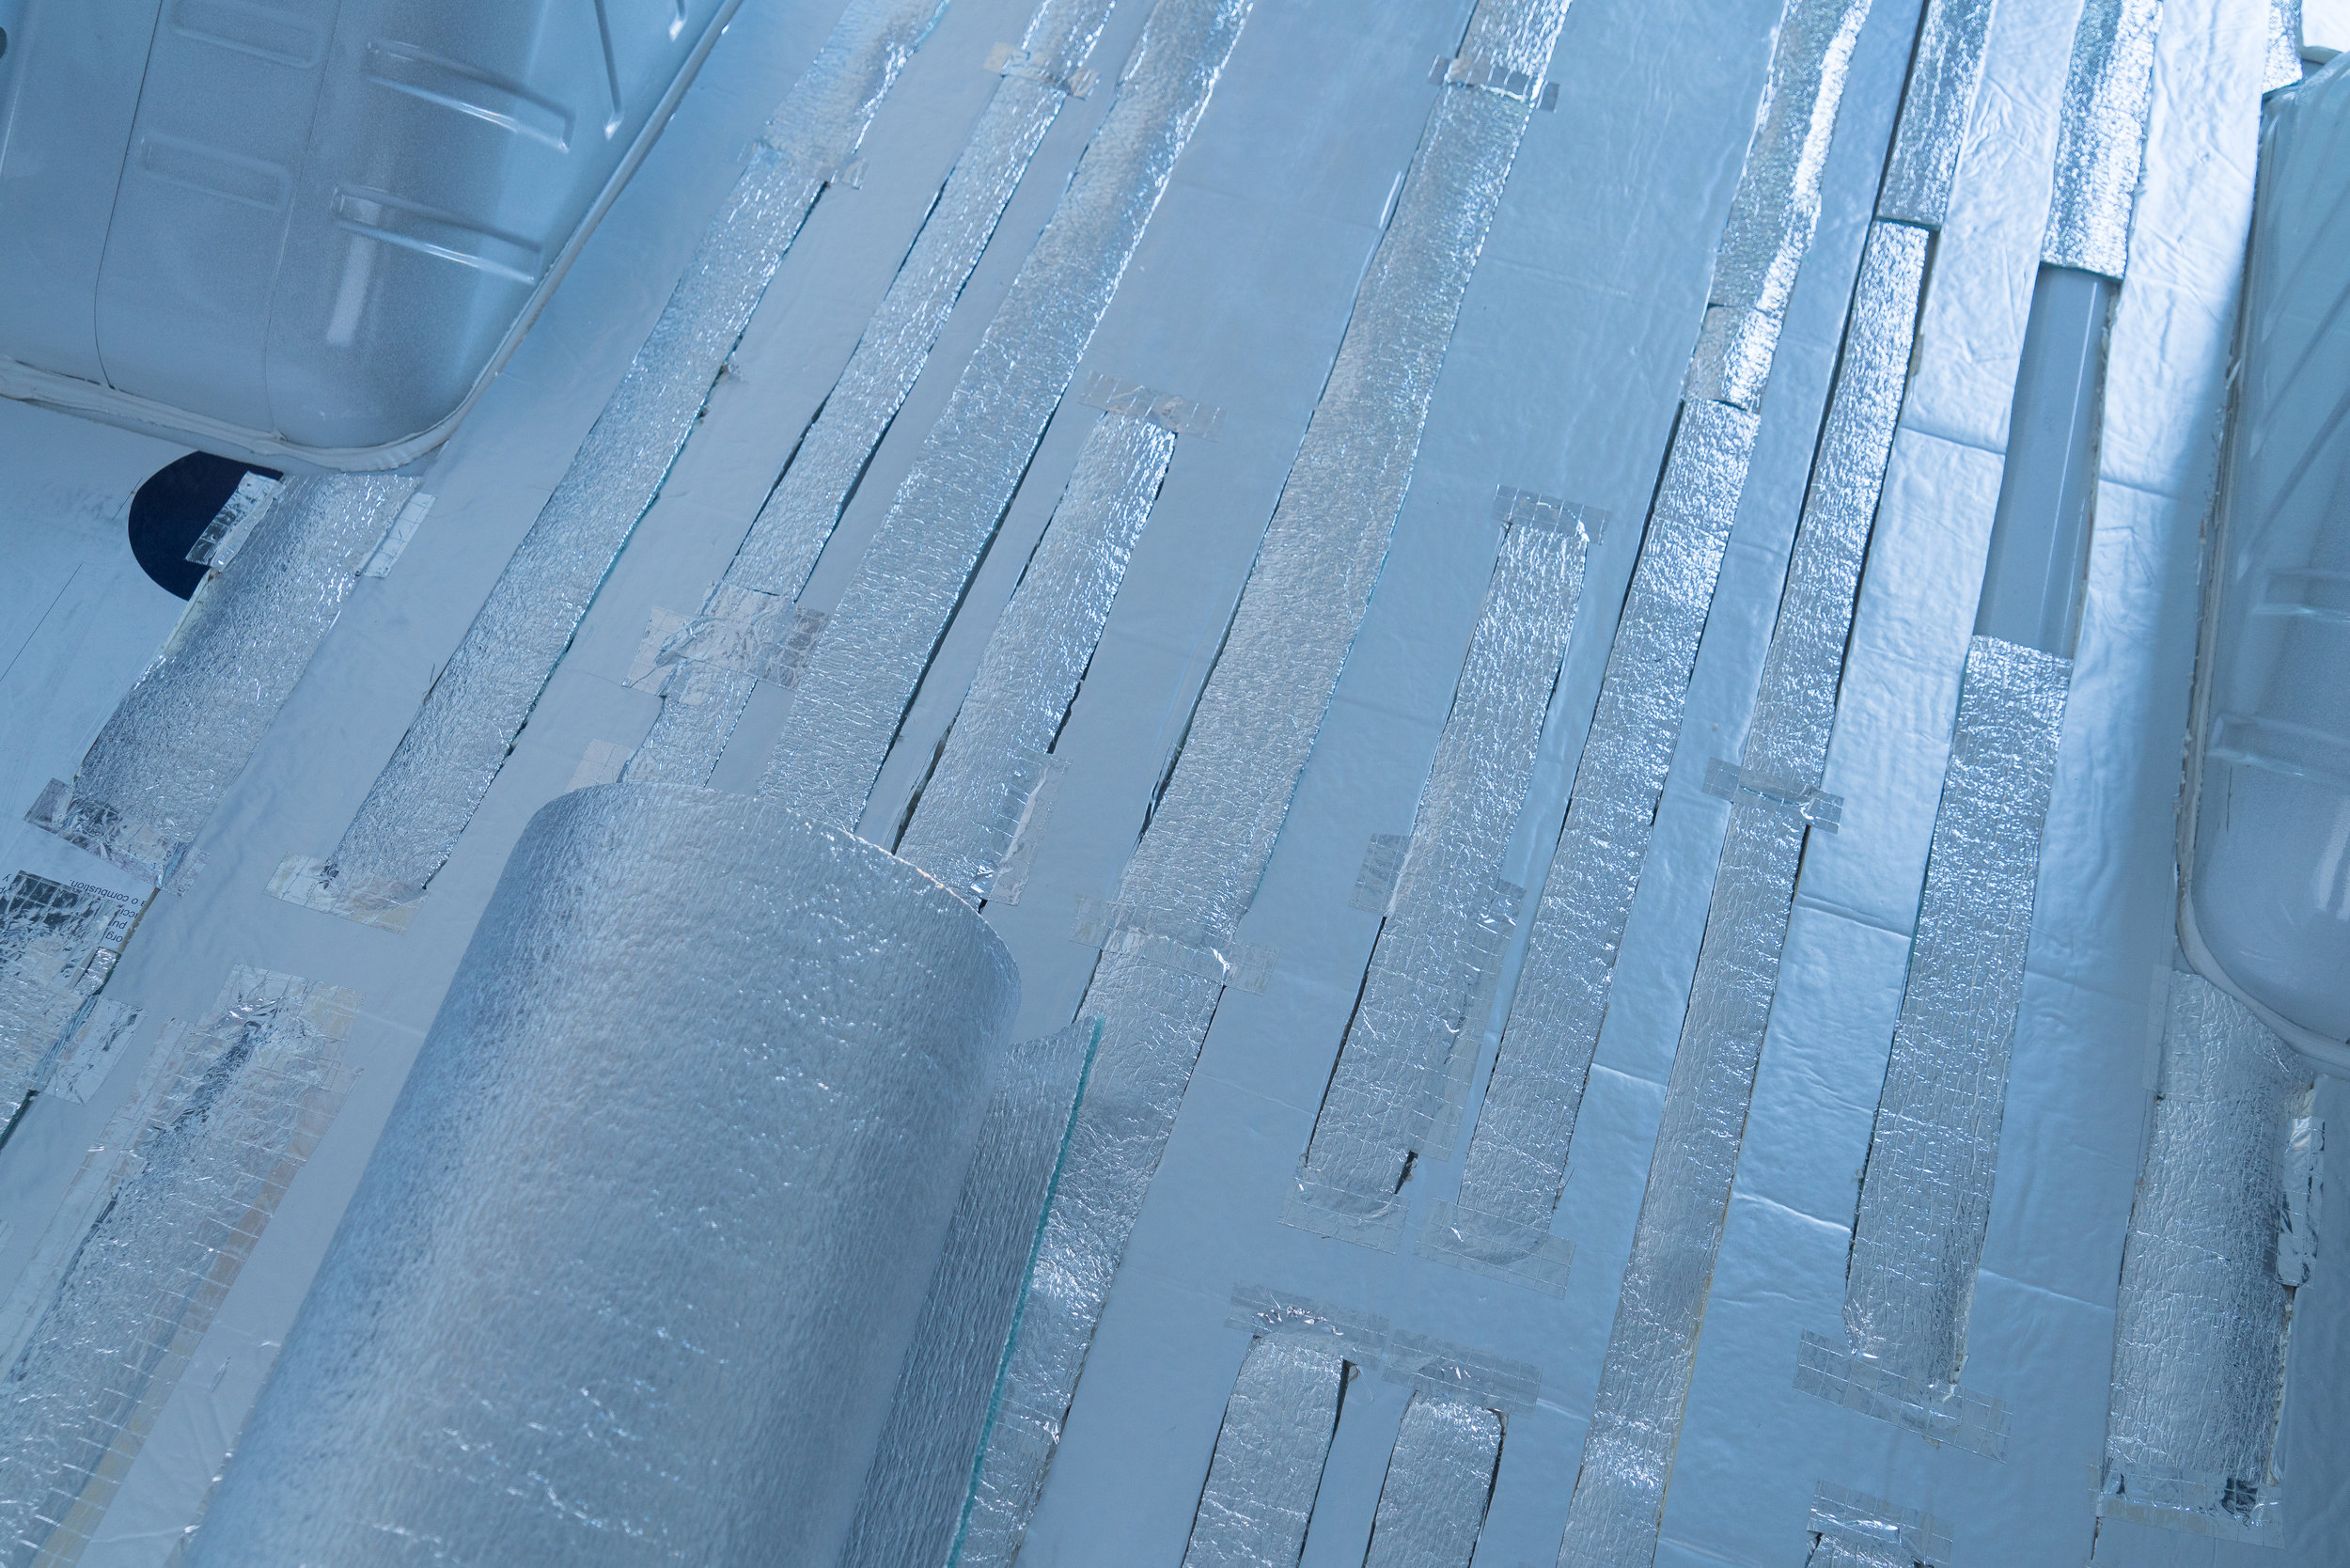
Should end up looking something like this
STEP ELEVEN
Cover wheel wells with Low E EZ Cool, tape on
Using the same material as the tubular gap shapes, cut out shapes to cover the wheel wells. This is a larger place where hot/cold air can escape or enter and definitely needs covering. Adding this material also helps cut down on road noise from the wheel wells.

STEP TWELVE
Add foamboard adhesive and lay down plywood
Use the same foamboard adhesive to the top of your foam and place plywood on top. Use the same weights and allow 24 hours for the foamboard adhesive to set before continuing.

STEP THIRTEEN
Add spray foam around edges as gap filler
This is another leftover spot that will need protection from hot/cold air. It also helps hold down the plywood. The spray foam is also an adhesive. Keep the weights down to hold everything in position. Simply fill in with spray foam to ensure that it's covered. You should also use some painters tape on the wall. Put this at about where you want the foam to stop. If you don't use anything, you'll have bits of spray foam all over and it's not super fun to remove.


STEP FOURTEEN
After spray foam dries, scrape off excess
The spray foam that bubbles up above the surface of the subfloor is just excess. Once it's fully cured, you can use a serrated edge to cut right where it meets the plywood. After you cut you can just pick off the excess.


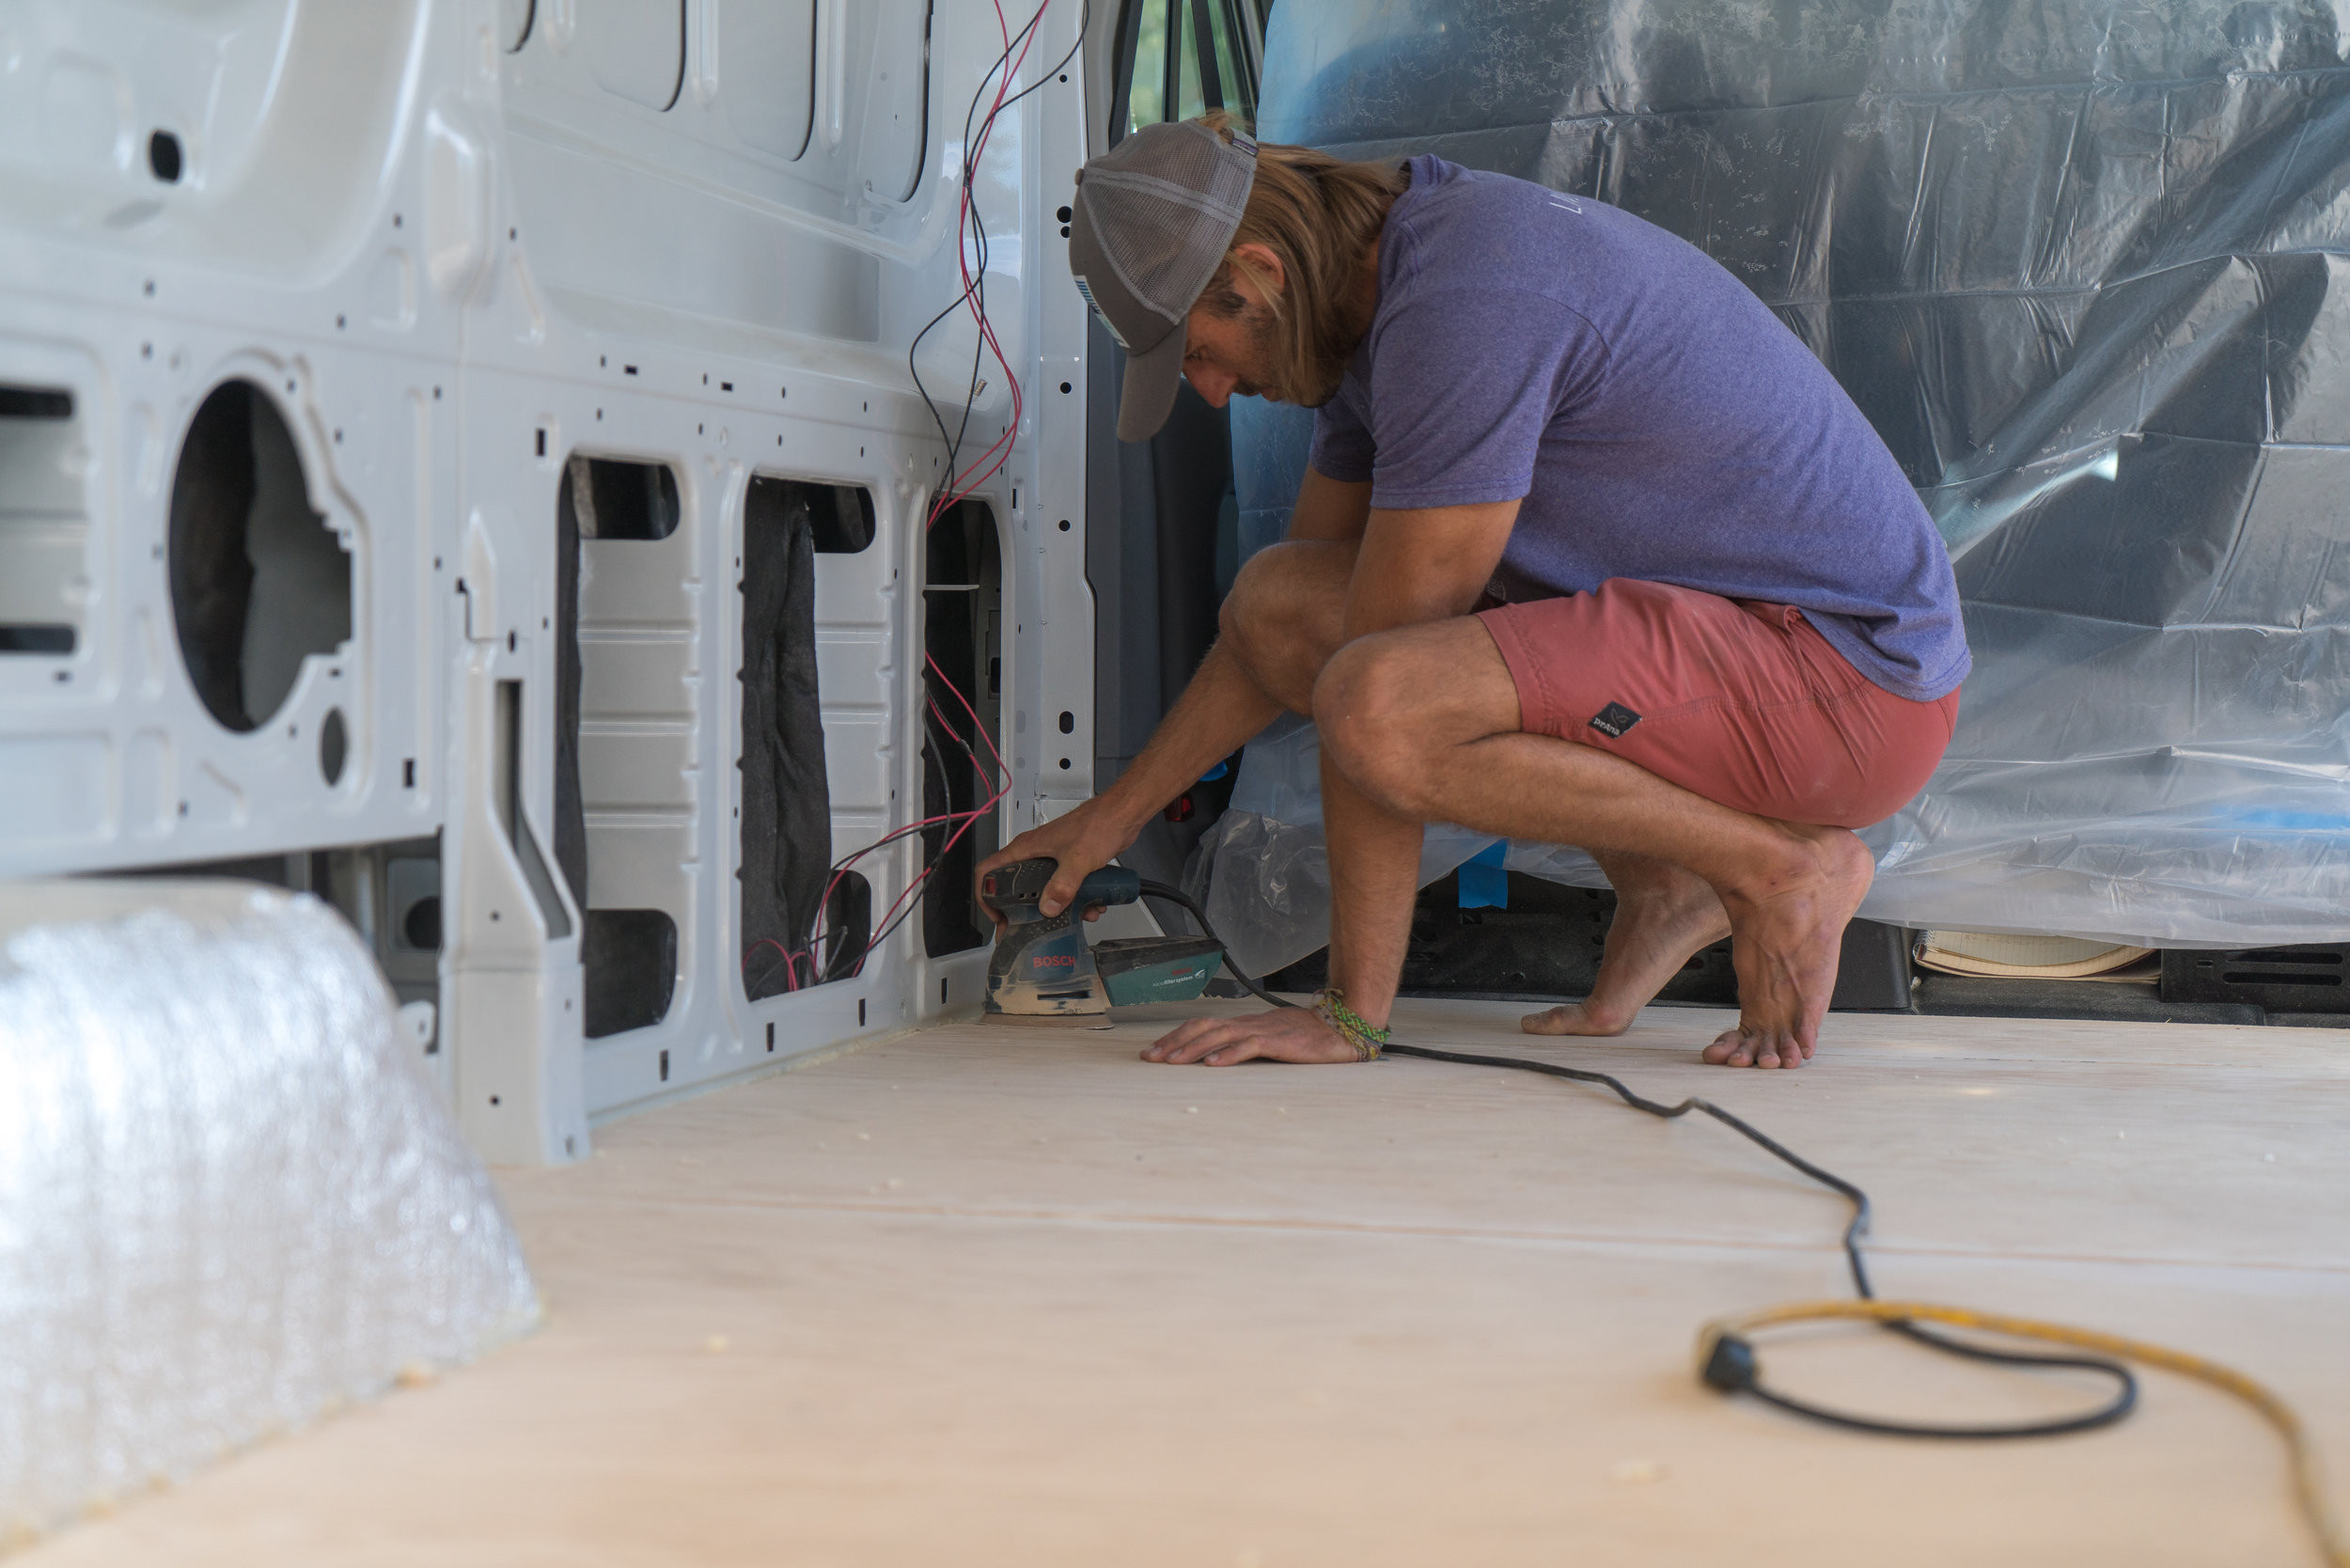
STEP FIFTEEN
Sand the subfloor once it's down
Want a smooth and EVEN surface when you're adhering your floor to the subfloor, so be sure to sand it well. You'll be glad you did. Make sure the seams between the plywood doesn't have any sharp transitions.
STEP SIXTEEN
Vacuum up the sanded bits
Once again, clean surface are everything! Also, sawdust...nuff said.

STEP SEVENTEEN
You're ready to start putting down floor!
Wooooooooo!
Time to choose a beautiful new floor and start getting it in!!!
